About the app Workflow Edit a project Publish a project Project page
Each year around July, the completed Industry-sponsored Capstone Projects from that academic year need to be added to the CoE site. The Industry Capstone App stores the project information and generates the public-facing project page.
About the app
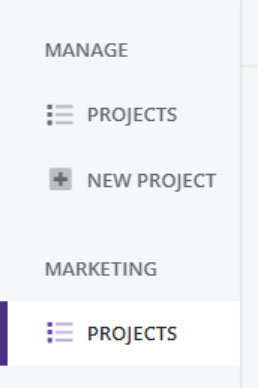
The app has two sections – “Manage” and “Marketing”.
The “Manage” section is for managing the student-selection process in the early stage of the projects. The CFR team manages this process, and the web team is not involved.
The “Marketing” section is for managing finished project information. All projects and information entered in the “Manage” section will also show up under the “Marketing” section. The web team should only work in the “Marketing” section.
Workflow
| Month/quarter | Action | Team |
|---|---|---|
| Fall quarter |
| CFR Team |
| Late June, early July |
| CFR Team |
| Late June, early July |
| Web Team |
| Late June, early July |
| Computing Team |
Editing a project
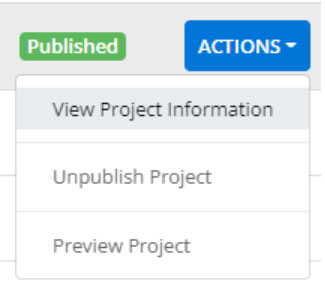
Under Marketing>Projects, you’ll see a list of all projects. Hover over the project you wish to edit, an “action” button will appear at the right hand side of the project row. Click on the “action” button, and select “View Project Information” from the drop-down.
Public Information
Most of the editing needed is done within this section. Information in this section is shown on the public-facing projects page.
Project Poster: Accepts one file. Uploaded file will generate a “project poster” link on the project page. If no file is uploaded, no link will show up on the project details page. Users should refrain from using long, complicated file names with spaces. This will often cause issues. Simplify file titles to use web-friendly characters, ie “adidas_innovation_poster_060522”.

Primary Team Image: Accepts one file. Uploaded file will show up as the main photo on the project details page as well as as the project thumbnail on the project listing page. If no photo is uploaded, the sponsor logo is used by default.

In order for photos to display correctly, they should be in landscape orientation. For photos in portrait orientation, add a solid background to make it a landscape photo. See example.
Other Team Image(s): Optional. Accepts up to three photos. Photo(s) uploaded to this field will auto-generate a slideshow on the project details page. Max combined size of all files being uploaded at the same time cannot exceed 128 MB.
Public Description: Project description entered during the student-selection phase is shown by default. To edit the text, click within the field and make the changes needed.
Video Link: Enter a YouTube video link. (Web team: You may need to look on department website/YouTube channel in order to find the video link needed). If no link is entered, no video will show.
Submit project public information button: Changes made to this section are not saved until you press this button. If a project has already been published, pressing this button will update the information on the live page without having to publish the project again.
Additional Actions
Publish button: Adds the project to the project listing page on the website. This will be live and the public will be able to see it.
Preview button: Allows you to see how the project details page looks like.
Please note:
- Both published and unpublished projects are both “live”, in that all projects have live corresponding project details pages.
- Unpublished projects do not show up on the project listing page and their project details pages do not show up on search engines. But one can still view an unpublished project by clicking on the “preview” button, or if they have the URL.
Sponsor Information
Project Title: Same as what’s entered in the student-selection phase by default. The project title makes up part of the project details page URL. If it’s edited, the URL updates automatically to match the new project title. The old URL will automatically redirect to go to the new URL.

Sponsor Website: The project sponsor’s website URL goes here. If a link is entered, it will add a “Sponsor website” link on the project details page. Otherwise, no link will show.

Academic Year: Same as what was originally entered when the project was created during the student-selection phase. Edits are not needed typically.
Sponsor Name: Same as what was originally entered when the project was created during the student-selection phase. Sponsor name makes up part of the project details URL. If it’s edited, the URL automatically updates to match the new sponsor name. The old URL will automatically redirect to go to the new URL.

Sponsor Type, Industry Project Restrictions, NDA Required? Same as what was originally entered when the project was created during the student-selection phase. Edits are not needed typically.
Update sponsor information button: Submits the updated information to the public pages.
Project Faculty
The original faculty information entered during the student-selection phase is used by default.
To add a faculty: Select a faculty from the “Select Faculty” dropdown by typing in the first few letters of their name. Depending on the faculty selected, the “Dept.”, “First Name”, “Last name”, and “Website” fields will auto-populate.
- Double check to see if the auto-populated information is correct and fill in any missing fields.
- Sometimes, the faculty’s lab website is the one auto-populated. Their Faculty Finder website (URL contains /facultyfinder) should be used instead.
- If no website link is auto-populated, manually add one.
If no selection matches the faculty you need to enter, enter their name manually in the “First Name” and “Last Name” field.
- Press “ADD+” to add the faculty information to the faculty list. Faculty have to be added to the faculty list before their information can be added to the public page (pressing the “submit” button directly doesn’t work). Press “Clear” to clear the information entered.
- To remove a faculty member from a project: Click on the red “x” button.
- To update faculty information on the public page: Click on “Update project faculty information” button
Assigned Students
The student information entered during the student-selection phase is used by default.
- To add a student: Type the student name in the “Student Name” field and press “Add+”
- To delete a student: Click on the red “x” button
- To update student information on the public page: Click on “Update assigned students” button
Publishing a project
There are two ways to publish a project:
From within the editing page, click on the “Publish” button in the “Additional Actions” section.

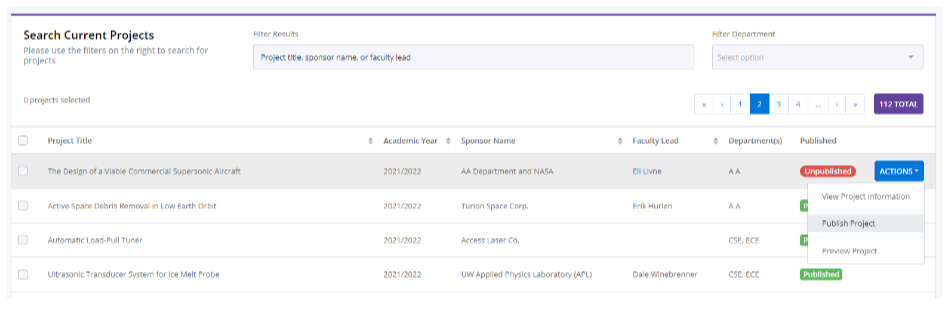
From the “Capstone Admin Page”, click on “Action”, and select “Publish Project” from the dropdown.
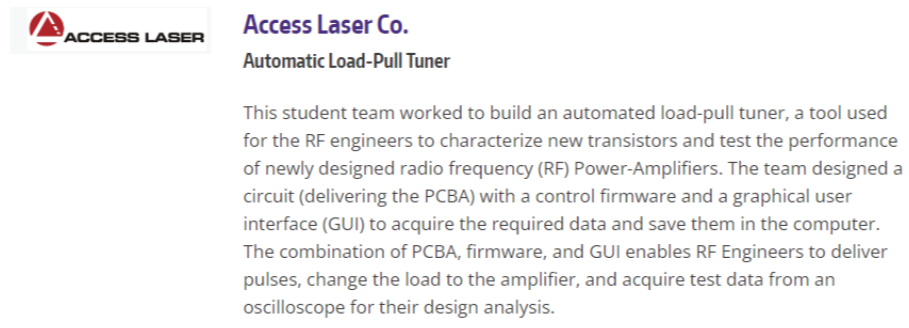
Public-facing projects page
The project listing page and project details page are auto-generated by the app. Changes to information on these pages need to be made from within the app.
Academic year projects description
The project description found at the top of the project listings page has to be entered by the Computing Team.